
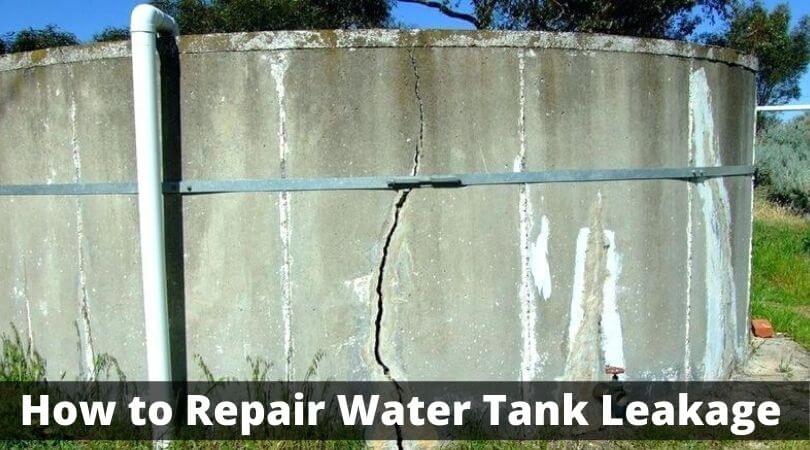
It happens so often with us that we face a water tank leakages every now and then. It is a tedious job to call a person and ask him to repair the leakage in the water tank. Do you need to keep a constant check on him if he needs anything? Is the work done? And much more. So I have bought this article which says how to repair water tank leakage.
How to Repair Water Tank Leakage?
Follow the below steps to repair concrete water tank leakage:
Step 1. Measure the tank
The first thing you need to do to repair concrete water tank leakage is measuring the whole tank. Note the circumference of the tank and measure the depth of the tank as well. You can easily measure the tank with the help of a tank liner as per the dimensions you need. If you are ordering a tank liner online, then make sure that it is rated as a food-grade level.
Step 2. Empty the tank
It is essential to clean and empty the water tank before repairing the leakage. You need to drain the water and check if there is any crack or dirt in it. Remove debris and loose concrete, if any. Now give the tank some proper time to dry thoroughly. Make sure you don’t start to chisel directly into the cracks.
Step 3. The first layer of repairing
Once the tank is dry ultimately, brush a layer of the concrete binding agent onto the cracks and minor areas. Make sure you cover the breaks from the inner side of the tank. It will take five to ten minutes for dry agents to dry appropriately. Make sure you don’t touch it; otherwise, it will look tacky at last with your handprints.
Step 4. Make the cement solution
Now you have to make a solution that will be applied on the tank walls. For this, you need to mix one part of hydraulic cement with water in three parts. You can use an electric drill. Make sure that your cement solution has a moist and dirt-like consistency. It should not stick on your hands, and you can make small cement balls and see if cement is sticking together or not. This is an important point to repair water tank leakage.
Step 5. Let’s fix the cement into the cracks
Once you have made the cement solution, it’s now the time to fill the cracks with cement. With the help of a trowel, you need to press the cement into the cracks properly. After filling the cracks completely now, we need to scrape the surfaces of the cement to make it even with the rest of the concrete tank area. It will also happen that you need to remove the excess cement wherever it is applied. Give an hour for the cement to dry and settle thoroughly.
Step 6. Fix liner into the tank
The above step is done and dusted if your tank is not consuming water in it. If it has to be filled with water, then it’s not the end yet. We have to coat the exterior wall of the tank with epoxy. You need to install the liners in the inner part of the center of the tank. Press on the liner until it adheres to the concrete. Now you need to unfold the liner and spread it all over the bottom of the tank.
Step 7. Last step
This one is the last and final step for repairing the leakage. Drill holes into the concrete walls and reinforce the liner edges. Use the hammer drill to do this process. Inject epoxy through the hole. Let the epoxy dry entirely so that you get a perfect finished wall over the tank. Now refill the tank and say goodbye to the leakage.
Yes, this is it. I know it is simple, and you can do this at your home. So try these steps to repair concrete water tank leakage. If you have any other suggestions, then also let me know.